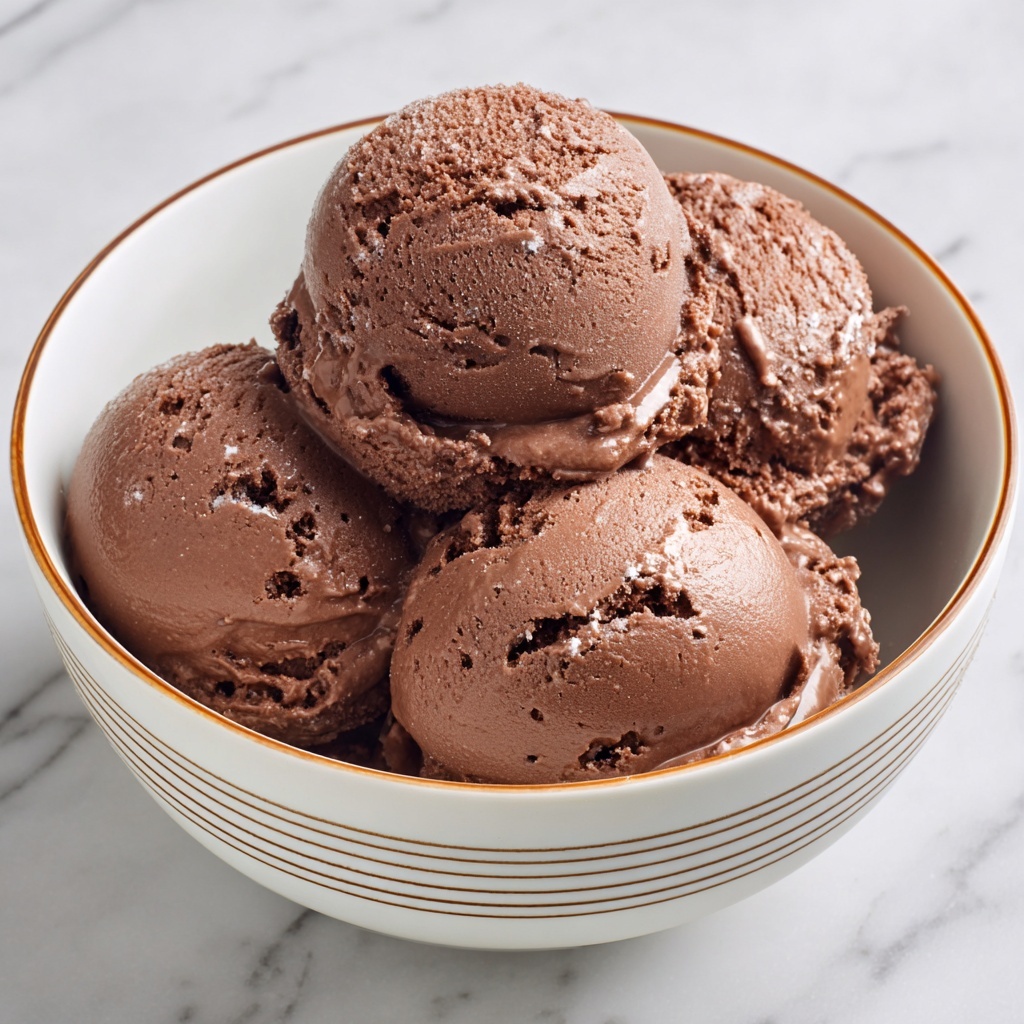
If you have a passion for luscious desserts that melt in your mouth, then you are going to fall head over heels for this Creamy Frozen Chocolate Ice Cream Recipe. Imagine rich, velvety chocolate that envelops your taste buds with every bite, perfectly smooth and decadently cold. This recipe is a true celebration of chocolate, balancing deep cocoa notes with the silky texture of heavy cream and milk, making it the ultimate homemade treat that’s surprisingly simple to whip up. Whether you’re treating yourself on a sunny day or looking to impress guests, this ice cream hits all the right spots for chocolate lovers everywhere.
Ingredients You’ll Need
Every great recipe starts with quality ingredients, and this Creamy Frozen Chocolate Ice Cream Recipe is no exception. Each component plays a vital role — from the rich cream that gives it an irresistible texture to the chocolate that brings the heart of the flavor.
- Heavy cream (2 cups): Provides luxurious creaminess and body to the ice cream.
- Whole milk (1 cup): Lightens the mixture slightly while still maintaining richness.
- Granulated sugar (3/4 cup): Sweetens the ice cream perfectly without overpowering the chocolate.
- Unsweetened cocoa powder (1/2 cup): Packs a deep, pure chocolate flavor essential for intensity.
- Semi-sweet or dark chocolate, finely chopped (4 oz): Adds melt-in-your-mouth chocolate chunks and depth to the recipe.
- Vanilla extract (1 teaspoon): Enhances all the flavors with a warm, aromatic touch.
- Pinch of salt: Balances sweetness and intensifies the chocolate’s richness.
How to Make Creamy Frozen Chocolate Ice Cream Recipe
Step 1: Combine Cocoa and Sugar
Start by whisking together the granulated sugar, cocoa powder, and a pinch of salt in a medium saucepan. This simple blend is the foundation for that wonderfully rich chocolate flavor we’re chasing, ensuring the cocoa dissolves smoothly later on.
Step 2: Heat the Milk Mixture
Add the whole milk to your dry ingredients and place the saucepan over medium heat. Stir constantly until the mixture is warm and you can see the sugar and cocoa fully dissolved — but keep a close eye to avoid letting it boil. This gentle heating is key to unlocking deep chocolate flavor without burning anything.
Step 3: Melt in the Chocolate
Remove the saucepan from heat and immediately stir in the finely chopped semi-sweet or dark chocolate. Watch as the chunks melt into a silky, glossy mixture that signals your ice cream is on track for decadence.
Step 4: Add Cream and Vanilla
Mix in the heavy cream and vanilla extract. This step brings the creaminess and fragrance together, setting the stage for the texture that’ll make this frozen treat stand out.
Step 5: Chill the Mixture
Cover the mixture and chill it in the refrigerator for at least 2 to 4 hours. If you plan ahead, overnight chilling is even better — it will help the flavors meld and the mixture cool thoroughly, which is crucial for perfect churning.
Step 6: Churn the Ice Cream
Once nicely chilled, pour the mixture into your ice cream maker. Follow the manufacturer’s instructions, usually churning for about 20 to 25 minutes until the ice cream reaches a thick, creamy consistency that folds beautifully onto your spoon.
Step 7: Freeze to Set
Transfer your freshly churned chocolate delight into an airtight container. Freeze for a minimum of 2 hours to give it time to firm up, ensuring the authentic creamy texture we’ve promised.
Step 8: Serve and Enjoy
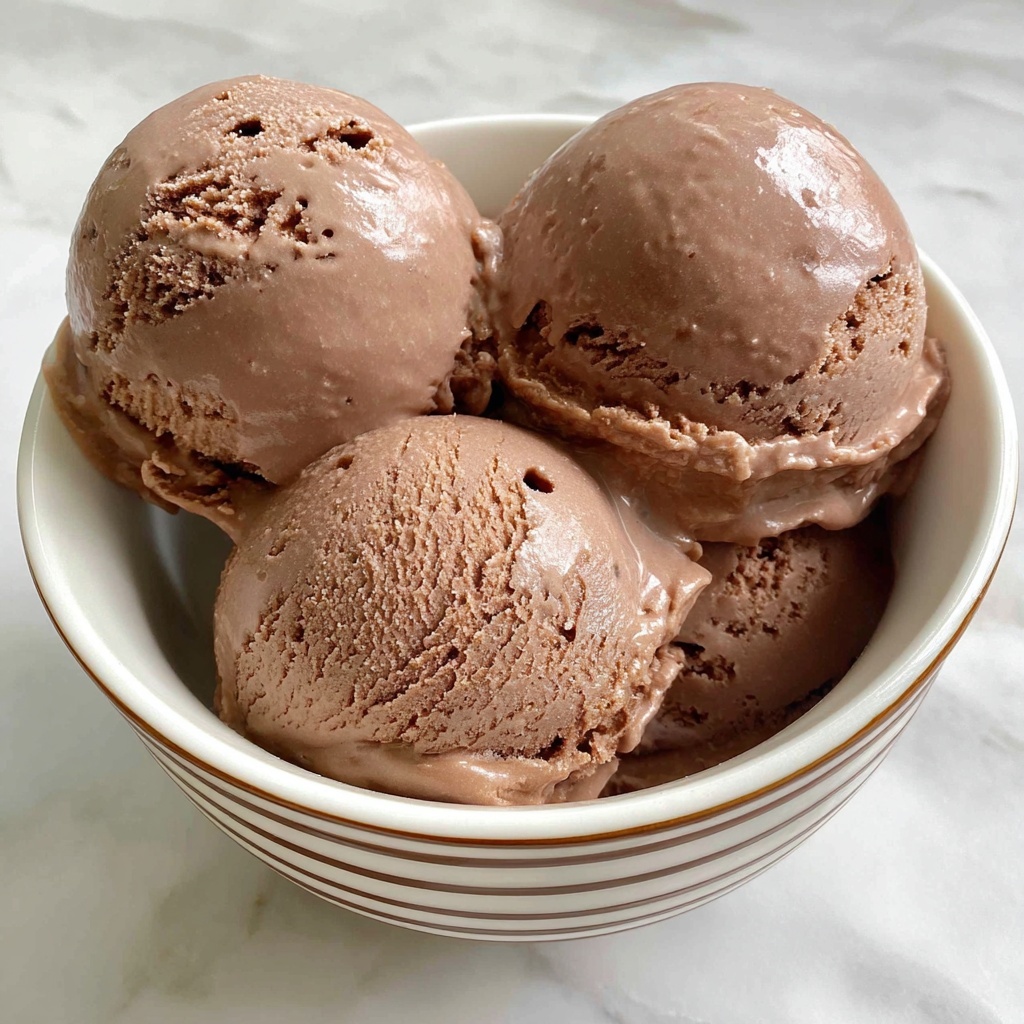
Scoop out generous portions and indulge immediately in the rich luxury of your very own Creamy Frozen Chocolate Ice Cream Recipe. Each bite is a celebration of all your hard work, and trust me, it tastes even better homemade!
How to Serve Creamy Frozen Chocolate Ice Cream Recipe

Garnishes
Sprinkle your scoops with some freshly grated dark chocolate or a dusting of cocoa powder for an elegant look. Adding a handful of toasted nuts or a drizzle of warm fudge sauce can turn your ice cream into an extraordinary dessert experience.
Side Dishes
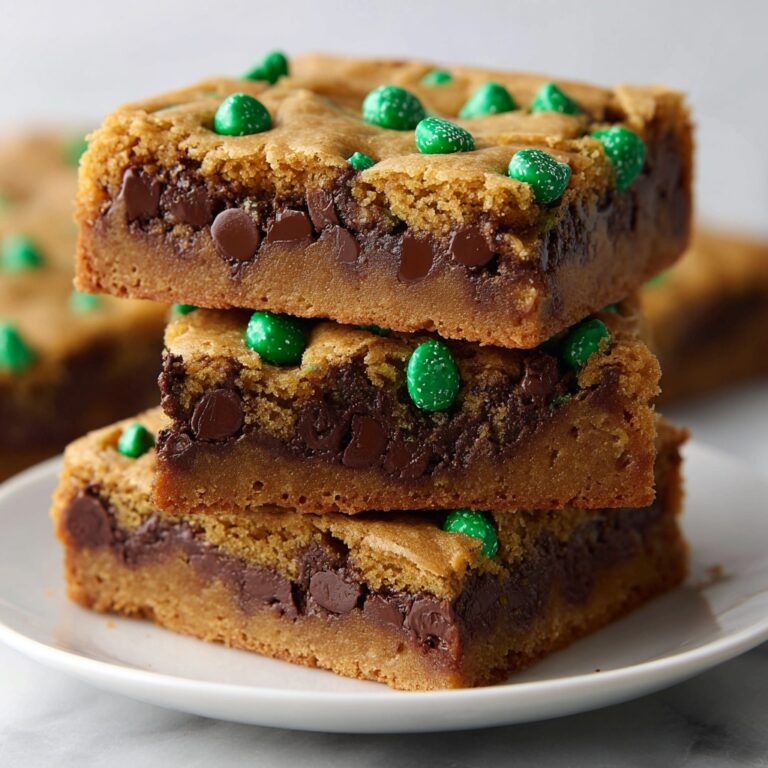
This ice cream pairs beautifully with warm homemade brownies or crisp chocolate chip cookies, creating a match made in dessert heaven. A vibrant fruit salad or fresh berries can also offer a fresh contrast, balancing the chocolate’s richness.
Creative Ways to Present
Serve your ice cream in waffle cones or in little dessert glasses layered with chunks of brownie or cookie crumbles for an indulgent parfait. For a fun twist, sandwich scoops between chocolate chip cookies to create decadent ice cream sandwiches that are as eye-catching as they are irresistibly tasty.
Make Ahead and Storage
Storing Leftovers
Any leftover Creamy Frozen Chocolate Ice Cream Recipe should be stored in a tightly sealed container to prevent ice crystals from forming and keep that silky texture alive. Stored properly, it will stay delicious for up to a week.
Freezing
If you want to prepare this recipe ahead of time without churning right away, simply refrigerate the mixture overnight then freeze it in an airtight container. Once frozen solid, you might want to let it soften a bit at room temperature before scooping for the best texture.
Reheating
Since this is a frozen dessert, reheating is not necessary or recommended. Instead, if your ice cream becomes too hard, allow it to sit out for 5 to 10 minutes to soften naturally before enjoying.
FAQs
Can I make this recipe without an ice cream maker?
Yes! You can pour the chilled mixture into a shallow container and freeze it, stirring every 30 minutes to break up ice crystals. While it won’t be as smooth as churning, it will still be creamy and delicious.
What type of chocolate works best?
Semi-sweet or dark chocolate gives the best balance of richness and sweetness. Avoid milk chocolate as it contains more sugar and dairy, which can alter the texture and flavor.
How long does the ice cream last in the freezer?
When kept in a proper airtight container, your Creamy Frozen Chocolate Ice Cream Recipe can last up to 2 weeks without loss of quality.
Can I substitute dairy ingredients for non-dairy alternatives?
While it’s possible, substituting heavy cream and milk with non-dairy versions may affect creaminess and texture. Coconut cream is a popular alternative that maintains richness well.
Why is it important to chill the mixture before churning?
Chilling ensures the mixture is cold enough to freeze quickly in the ice cream maker, which helps create tiny ice crystals for a smoother, creamier ice cream.
Final Thoughts
There’s nothing quite like the feeling of savoring a scoop of homemade ice cream, especially when it’s as irresistibly rich and creamy as this Creamy Frozen Chocolate Ice Cream Recipe. It’s a fantastic way to bring a little joy and indulgence into your day, and I promise, once you taste it, it’ll become a beloved classic in your dessert rotation. So gather your ingredients, get churning, and prepare to amaze yourself and everyone lucky enough to try this chocolatey treasure.
Print
Creamy Frozen Chocolate Ice Cream Recipe
- Prep Time: 10 minutes
- Cook Time: 10 minutes
- Total Time: 4 hours 20 minutes (including chilling and freezing time)
- Yield: 6 servings
- Category: Dessert
- Method: Churning
- Cuisine: American
Description
This creamy frozen chocolate ice cream recipe offers a rich and smooth homemade treat made with real cocoa and semi-sweet chocolate. The base is gently heated to dissolve sugar and cocoa, then combined with heavy cream and vanilla for ultimate creaminess. Churned in an ice cream maker and frozen to perfection, this dessert is perfect for chocolate lovers craving a luscious, refreshing indulgence.
Ingredients
Ice Cream Base
- 3/4 cup granulated sugar
- 1/2 cup unsweetened cocoa powder
- Pinch of salt
- 1 cup whole milk
- 4 oz semi-sweet or dark chocolate, finely chopped
- 2 cups heavy cream
- 1 teaspoon vanilla extract
Instructions
- Combine dry ingredients: In a medium saucepan, whisk together the granulated sugar, unsweetened cocoa powder, and a pinch of salt until well blended.
- Heat the milk mixture: Stir in the whole milk and place the saucepan over medium heat. Cook the mixture, stirring constantly to prevent scorching, until it’s hot and the sugar and cocoa are completely dissolved. Be careful not to bring it to a boil.
- Melt the chocolate: Remove the saucepan from heat. Add the chopped semi-sweet or dark chocolate and stir continuously until the chocolate is fully melted and the mixture is smooth.
- Add cream and vanilla: Stir in the heavy cream and vanilla extract until the mixture is fully combined and creamy.
- Chill the base: Cover the mixture and chill it in the refrigerator for at least 2 to 4 hours, with overnight chilling recommended for best flavor and texture.
- Churn the ice cream: Once chilled, pour the mixture into an ice cream maker and churn according to the manufacturer’s instructions, typically for 20 to 25 minutes, until it reaches a soft-serve consistency.
- Freeze to firm up: Transfer the churned ice cream to an airtight container and freeze it for at least 2 hours to allow it to firm up for easier scooping.
- Serve and enjoy: Scoop the creamy chocolate ice cream into bowls or cones and enjoy your homemade frozen dessert.
Notes
- For a dairy-free version, substitute heavy cream and milk with coconut milk or other plant-based alternatives.
- Ensure the mixture does not boil during heating to avoid grainy texture.
- Chilling the base overnight enhances the flavor and texture of the ice cream.
- If you don’t have an ice cream maker, you can stir the mixture every 30 minutes during freezing to minimize ice crystals.
- Add chocolate chips or nuts during the last few minutes of churning for added texture.


