
If you’re looking to add a spooky and fun twist to your Halloween party snacks, this Halloween Zombie Fingers Recipe is an absolute must-try. It’s delightfully creepy yet delightfully simple, turning classic mozzarella string cheese into eerie fingers that are both tasty and amusing. Perfect for entertaining kids and adults alike, this recipe blends a few fresh ingredients to create an eye-catching centerpiece that brings a playful chill to your table.
Ingredients You’ll Need
Getting started with the Halloween Zombie Fingers Recipe is a breeze because the ingredients are straightforward and each plays a crucial role in achieving that fun, creepy look and delicious flavor. From the creamy mozzarella for a realistic flesh-like texture to the olives and bell peppers that mimic ghastly fingernails, every component has its place to make these fingers come alive.
- 6 mozzarella string cheese sticks: These are the base of your zombie fingers, providing that perfect soft and chewy “flesh” texture.
- 2 olives (black or green): Chosen for their dark color and shiny look, olives serve as spooky fingernails that add authenticity.
- 1 slice of green bell pepper: Adds a hint of color variation and a creepy curved shape for fingernails.
- 1 slice of red bell pepper: Offers a striking red shade to mimic bloody or infected nails for extra Halloween vibes.
- 1 tablespoon sour cream or ranch dressing: Used as an edible glue to secure the fingernails to the cheese fingers seamlessly.
How to Make Halloween Zombie Fingers Recipe
Step 1: Prepare the Cheese Fingers
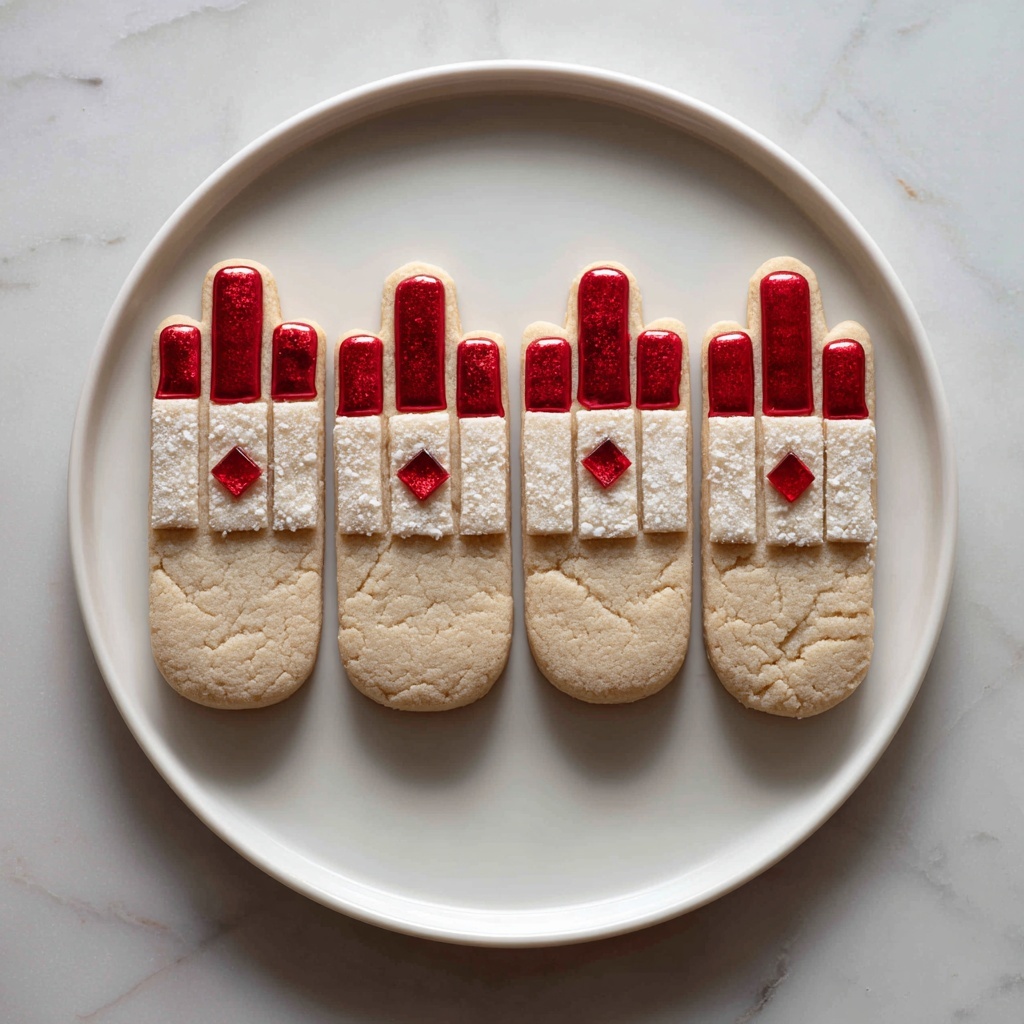
Start by cutting each mozzarella string cheese stick in half, giving you a neat dozen of finger-sized pieces. These halves perfectly mimic the length of scary zombie fingers. Next, take a toothpick and gently carve subtle wrinkles and knuckle lines on each piece — this detail is key for making them look surprisingly real.
Step 2: Shape the Fingernails
Slice the olives and bell peppers into small, nail-shaped pieces. Try to carve them into slightly curved shapes that resemble fingernails; the bell peppers give you fun color options to mix and match. This is where creativity shines — varied nail shapes and colors add to the creepy-cool factor.
Step 3: Attach the Nails
Using a dab of sour cream or ranch dressing, stick the nail pieces to the tips of each cheese finger. For extra realism, you can carefully carve a shallow notch or nail bed into the cheese with your toothpick before attaching the “nails.” This little trick helps secure the pieces and makes the fingers look like they have actual nails growing out of them.
Step 4: Arrange and Serve
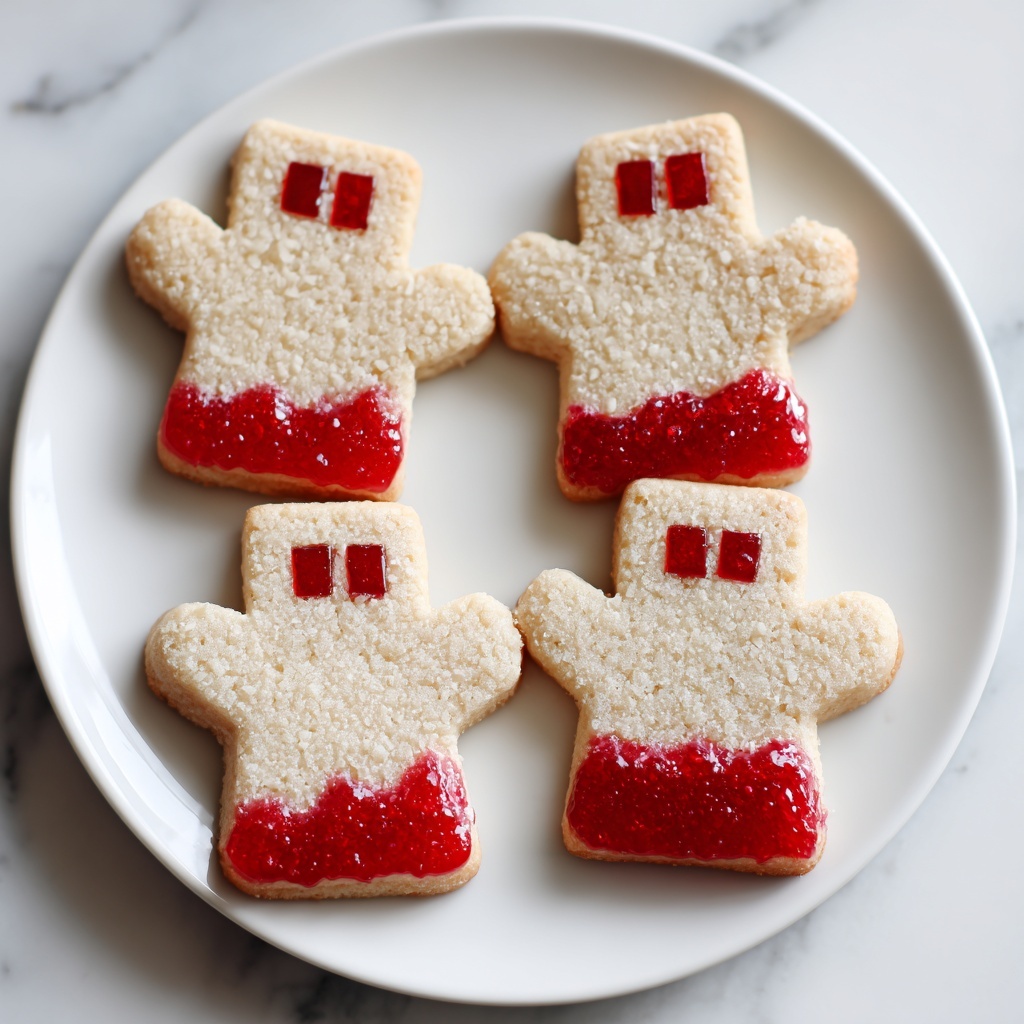
Lay your Halloween Zombie Fingers Recipe out on a serving plate in a way that looks like they just popped out of the grave. They’re best served chilled and fresh but can stay out for your guests to nibble throughout the party.
How to Serve Halloween Zombie Fingers Recipe
Garnishes
Consider adding a sprinkle of paprika or a drizzle of your favorite hot sauce around the edges of the plate to simulate blood for an even scarier effect. Fresh parsley or cilantro just off to the side can add a graveyard “grass” touch, completing the chilling visual.
Side Dishes
Zombie fingers pair wonderfully with smoky or spicy sides like buffalo wings, crunchy carrot sticks with a creamy dip, or even a cauldron of chili. The combination of flavors lets your guests enjoy something slightly eerie but with a satisfying bite.
Creative Ways to Present
For a memorable presentation, place your zombie fingers sticking out of a bowl of guacamole or salsa, giving the illusion that the fingers are crawling from the undead. Alternatively, present them on a platter lined with torn parchment paper and plastic spiders for extra creepiness!
Make Ahead and Storage
Storing Leftovers
If you happen to have any leftover Halloween Zombie Fingers Recipe, wrap them tightly in plastic wrap or store in an airtight container in the refrigerator. They’ll stay fresh for up to 2 days, allowing you to keep that spooky snack ready to go.
Freezing
Because the key ingredients are fresh and best enjoyed chilled, freezing is not recommended. Mozzarella string cheese and fresh vegetables tend to lose texture and flavor after freezing and thawing.
Reheating
This recipe is best served cold or at room temperature, so reheating is unnecessary. If you prefer, simply take any refrigerated leftovers out about 15 minutes before serving to allow them to warm slightly for softer texture.
FAQs
Can I use a different type of cheese for the zombie fingers?
While mozzarella string cheese is ideal because of its shape and texture, you could experiment with other soft cheese sticks. Just keep in mind that firmer cheeses may be harder to carve and attach the “nails” to.
Are olives the only option for the fingernails?
Olives are perfect because of their color and shape, but you can also use small pieces of grapes or black beans if you want a different look. Just make sure the pieces are small and nail-shaped to keep the effect convincing.
Can kids help make the Halloween Zombie Fingers Recipe?
Absolutely! This recipe is very kid-friendly and offers a fun, hands-on activity for children to get creative with food. Just supervise the carving part to avoid any accidents with toothpicks.
What if someone doesn’t like sour cream or ranch for attaching the nails?
You can use cream cheese or even a thick peanut butter as alternatives to stick the fingernails on. The key is to use a sticky yet edible substance that holds the pieces firmly in place.
How long does it take to prepare this recipe?
Preparation is super quick — about 10 to 15 minutes tops. Carving the knuckles and shaping nails is the most detailed part, but overall it’s a perfect last-minute party treat.
Final Thoughts
There is something undeniably fun about creating food that not only tastes good but also sparks a smile and a little spookiness! This Halloween Zombie Fingers Recipe has become one of my favorite go-to party appetizers because it’s simple, visually awesome, and sure to get a reaction from your guests. So go ahead, gather the ingredients, roll up your sleeves, and have a fantastic time bringing a bit of friendly fright to your Halloween spread!
Print
Halloween Zombie Fingers Recipe
- Prep Time: 15 minutes
- Cook Time: 0 minutes
- Total Time: 15 minutes
- Yield: 6 servings
- Category: Appetizer
- Method: No-Cook
- Cuisine: American
- Diet: Vegetarian
Description
This fun and spooky Halloween Zombie Fingers recipe transforms simple mozzarella string cheese into creepy severed fingers, perfect for a themed party snack. With decorative olive ‘fingernails’ and carved knuckle details, these eerie treats are easy to make and sure to delight guests of all ages.
Ingredients
Ingredients
- 6 mozzarella string cheese sticks
- 2 olives (black or green)
- 1 slice green bell pepper
- 1 slice red bell pepper
- 1 tablespoon sour cream or ranch dressing
Instructions
- Prepare the String Cheese: Cut each mozzarella string cheese stick in half to create 12 finger-sized pieces, which will form the base of the zombie fingers.
- Carve Finger Wrinkles: Using a toothpick, lightly carve small wrinkles and knuckle details on each cheese stick half to mimic the look of fingers.
- Create the Fingernails: Slice olives, green bell pepper, and red bell pepper into small, fingernail-shaped pieces to add variety and spooky detail for the nails.
- Attach Fingernails: Use a small amount of sour cream or ranch dressing to stick the fingernail pieces onto the tips of each cheese finger. For better adhesion and realism, gently carve out a shallow nail bed on the cheese with a toothpick before attaching.
- Serve: Arrange the completed zombie fingers on a serving plate and enjoy as a fun Halloween appetizer or party snack.
Notes
- You can substitute sour cream with ranch dressing or cream cheese as an adhesive.
- Use different colored olives or bell peppers for variety in fingernail colors.
- For a more graphic touch, add a tiny bit of ketchup or marinara sauce near the base of the ‘fingers’ to mimic blood.
- Keep the prepared fingers refrigerated until serving to maintain freshness.

