October 19, 2024 by Layla
There’s something special about enjoying a cold treat on a hot day—it brings back happy childhood memories. Imagine biting into a creamy popsicle covered in rich chocolate and feeling the refreshing coolness.
Table of Contents
Remember those sunny afternoons filled with laughter while enjoying a chocolate-covered ice cream bar? Now, you can recreate those moments in your own kitchen. Our guide will show you how to make easy homemade chocolate-covered ice cream popsicles. You’ll get to try different flavors and toppings that will delight your taste buds.
Key Takeaways
- Preparation time: Only 15 minutes, with a freezing time of 4-6 hours.
- Servings: This recipe yields 4 delicious homemade chocolate-covered ice cream popsicles.
- Customization: Create your own flavors and add various toppings for extra enjoyment.
- Satisfaction: Enjoy making a classic dessert with fresh ingredients.
- Perfect for hot summer days, providing a creamy and crispy treat that everyone loves.
- Homemade advantage: Maintain freshness and control flavors compared to store-bought versions.
Introduction to Homemade Chocolate-Covered Ice Cream Popsicles
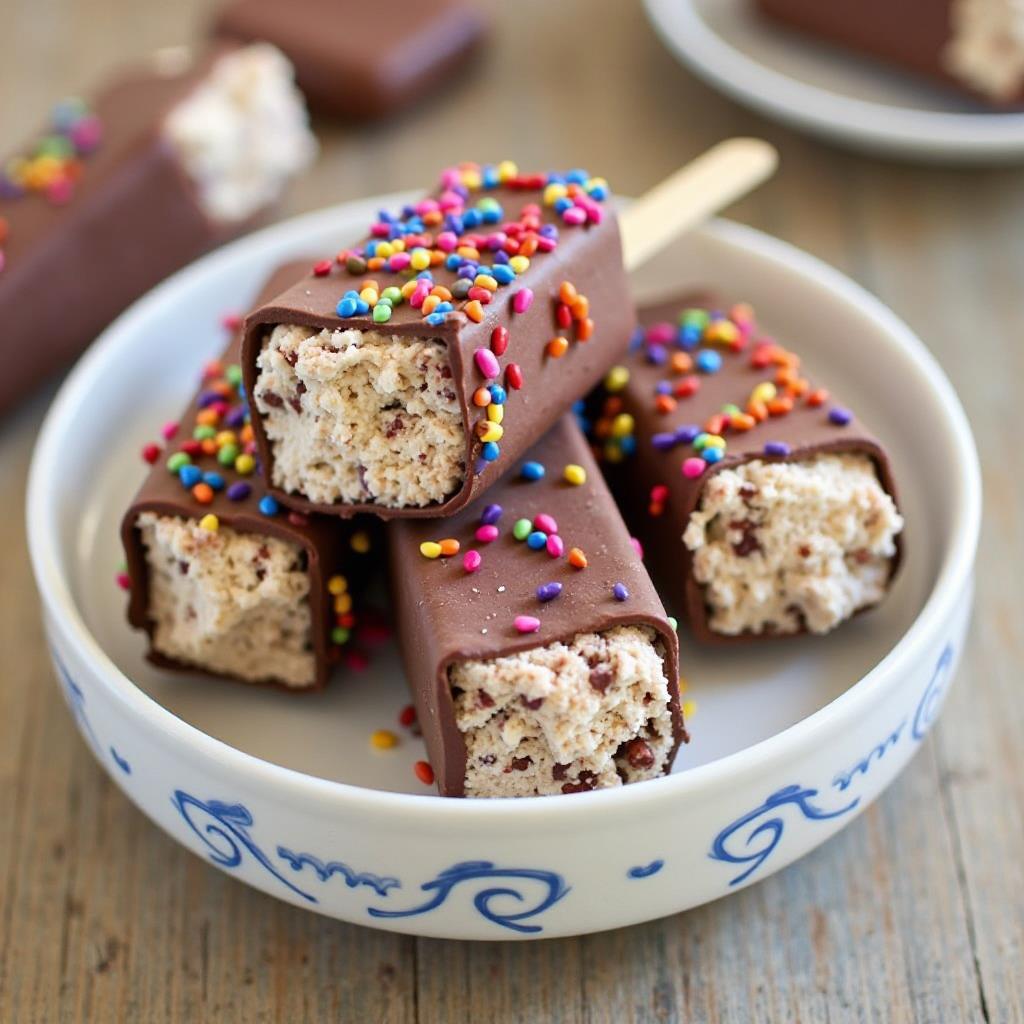
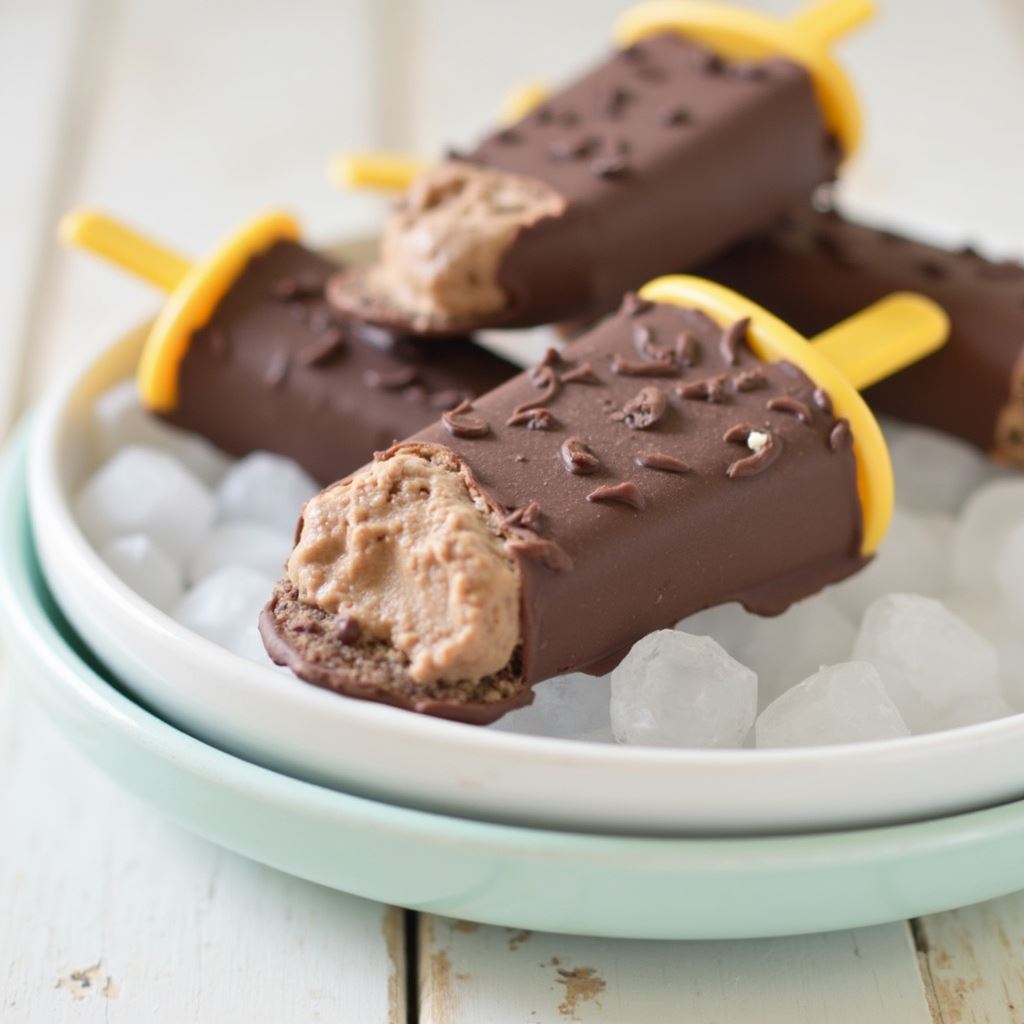
Chocolate-covered ice cream popsicles are a delightful frozen treat that combines creamy ice cream with a rich chocolate coating. These ice cream bars bring back the fun of summer for kids and adults alike.
Making these treats at home allows you to choose the best ingredients and add your personal twist to the flavors. Opt for vanilla, chocolate, or mint ice cream. Use high-quality chocolate for a shiny finish.
You’ll need popsicle molds and sticks to get the right shape. Freeze them at 0°F (-18°C) for the best texture. Enjoy them within two weeks for optimal taste.
The History of Chocolate-Covered Ice Cream Bars
In 1921, Christian Kent Nelson, a schoolteacher, came up with a unique idea. He combined ice cream with chocolate on a stick. This innovation changed the way we enjoy frozen treats, leading to the ice cream bars we love today.
Chocolate-covered ice cream bars quickly became a hit at soda fountains. By 1924, the Popsicle Corporation sold 6.5 million units, showing how much people loved these frozen delights. The patent obtained in 1922 marked a key moment in the history of these treats, paving the way for more innovations.
Over time, the brand evolved, but its legacy as a classic American treat remains strong. Each bite connects us to generations of dessert lovers.
Why Make Homemade Chocolate-Covered Ice Cream Popsicles?
Making your own chocolate-covered ice cream popsicles is a fun adventure. You get to choose the ingredients, making it healthier. Use top-quality ice cream or yogurt without preservatives for a better treat.
DIY popsicles are more than just food—they’re a way to bond with your family. Everyone can help pick flavors and toppings. It’s a fun way to create memories and enjoy tasty homemade snacks.
Nutritional Information per Serving:
- Calories: 250 kcal
- Sodium: 24 mg
- Total Fat: 14 g
- Saturated Fat: 9 g
- Carbohydrates: 20 g
- Fiber: 2 g
- Protein: 19 g
- Cholesterol: 50 mg
Preparation takes only 10 minutes, with about 4 hours and 15 minutes total to make. You can make them even more special with toppings like nuts, caramel, or coconut.
Ingredients for the Perfect Chocolate-Covered Ice Cream Popsicle
To make the perfect popsicle, you need the right ingredients to ensure a treat that’s both creamy and chocolatey.
Essential Ingredients for the Ice Cream
The heart of your popsicle is the ice cream. You’ll need:
- 2 cups heavy cream
- 1 cup whole milk
- ½ cup granulated sugar
- 1 teaspoon vanilla extract
These mix together to make a creamy ice cream. Whip the heavy cream until it forms soft peaks, then mix in the remaining ingredients. Freeze it for 4 hours to set.
Choosing the Right Chocolate for Coating
The chocolate coating is the final touch. Here are your options:
- 2 cups dark chocolate chips or chopped chocolate
- 2 tablespoons coconut oil (or vegetable oil as an alternative)
Choose dark chocolate with 70% cocoa for a deeper flavor. This contrasts well with the ice cream’s sweetness. Melt it with oil for a smooth coat that sticks well.
The Ultimate Guide to Easy Homemade Chocolate-Covered Ice Cream Popsicles
Making your own popsicles is fun and rewarding. This guide shows you how to prepare the ice cream base and melt chocolate perfectly. With basic kitchen tools, you can create a treat that’s just right for you.
Simple Steps to Prepare Your Ice Cream Base
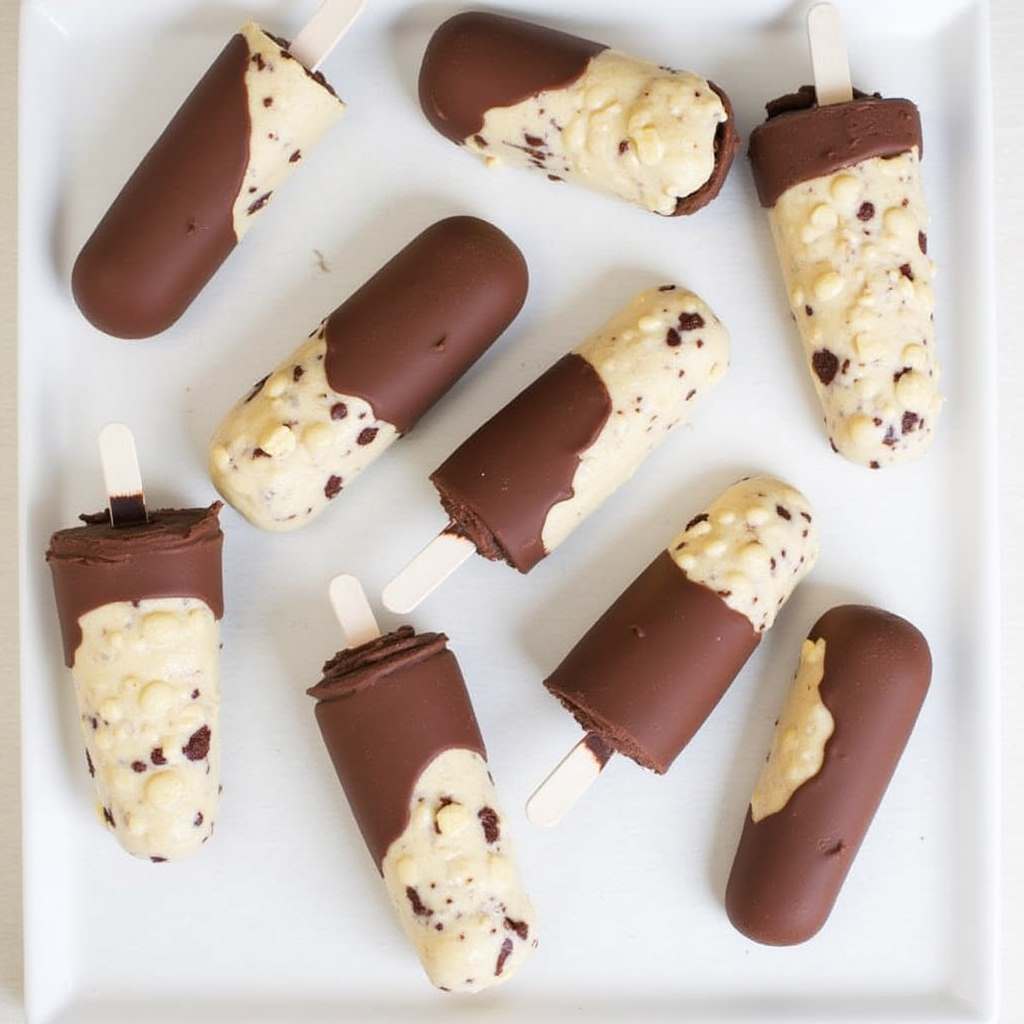
First, gather the ingredients for your ice cream base. You’ll need 2 cups of ice cream, but you can also use Greek yogurt or coconut yogurt for a creamier version. Add crushed nuts, dried fruits, or flavor extracts to make it special.
- In a mixing bowl, scoop out your chosen ice cream or yogurt.
- Add any optional flavoring or texture ingredients.
- Mix until well combined, ensuring a smooth, creamy consistency.
- Pour the mixture into popsicle molds, filling each cavity adequately.
- Insert popsicle sticks and freeze for a minimum of 4 hours, but ideally overnight.
Tips for Melting Chocolate to Perfection
The chocolate coating is key for that classic look and taste. Here are some tips for melting chocolate:
- Use high-quality chocolate, approximately 1½ cups, for the best taste and texture.
- Add 2 tablespoons of coconut oil while melting to achieve a glossy finish and quicker hardening.
- Choose between a double boiler for gentle heating or a microwave-safe bowl for convenience. If using a microwave, melt in short bursts of 15 seconds, stirring in between.
- Once fully melted, allow the chocolate to slightly cool before dipping your frozen popsicles.
- After coating, freeze the popsicles for about 20 minutes to let the chocolate set. Wrap each popsicle in wax paper or plastic wrap to keep them fresh.
Step-by-Step Guide to Making Chocolate-Covered Ice Cream Popsicles
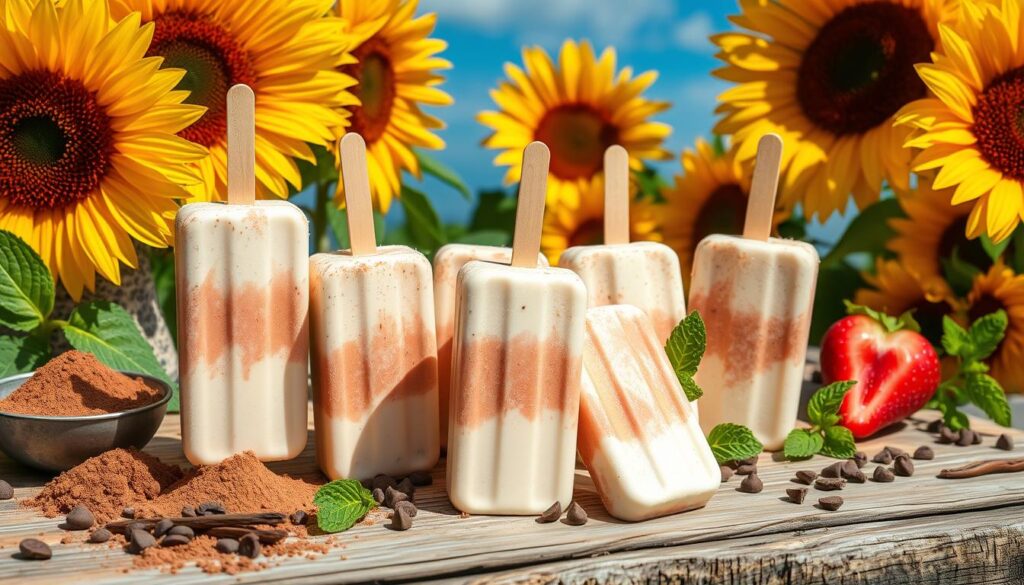
Making your own popsicles is a great way to enjoy a classic treat. This guide will help you create a homemade delight, from ice cream to chocolate coating.
Preparing and Filling the Molds
Begin by preparing the ice cream base with your chosen ingredients. Then, it’s time to fill the molds:
- Ensure your ice cream mixture is well combined.
- Pour the mixture into popsicle molds, leaving a bit of space at the top.
- Insert popsicle sticks into the molds, making sure they’re straight and centered.
- Freeze the molds for 4-6 hours or overnight for the best texture.
Properly filling the molds is key for even popsicles. Take your time to get it right.
Creating the Chocolate Coating
The chocolate coating makes your popsicles extra special. Here’s how to make a smooth chocolate layer:
- Melt the chocolate chips and coconut oil in a microwave-safe bowl. Do it in 30-second bursts, stirring often.
- Once the chocolate is melted, remove the popsicles from the freezer.
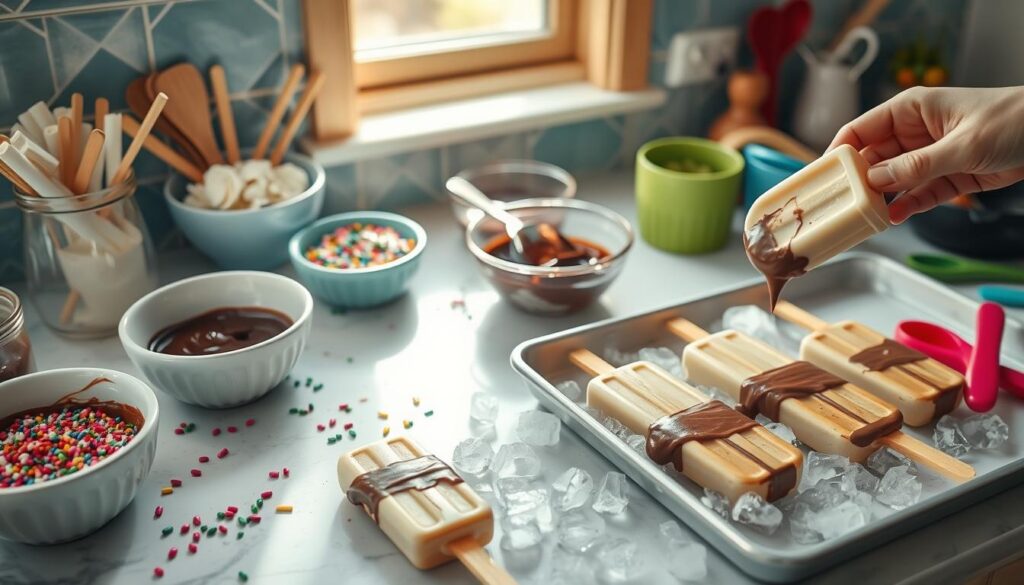
- Unmold each popsicle and dip it into the melted chocolate, ensuring it’s fully covered.
- Let any excess chocolate drip off and place the popsicles on a parchment-lined baking sheet.
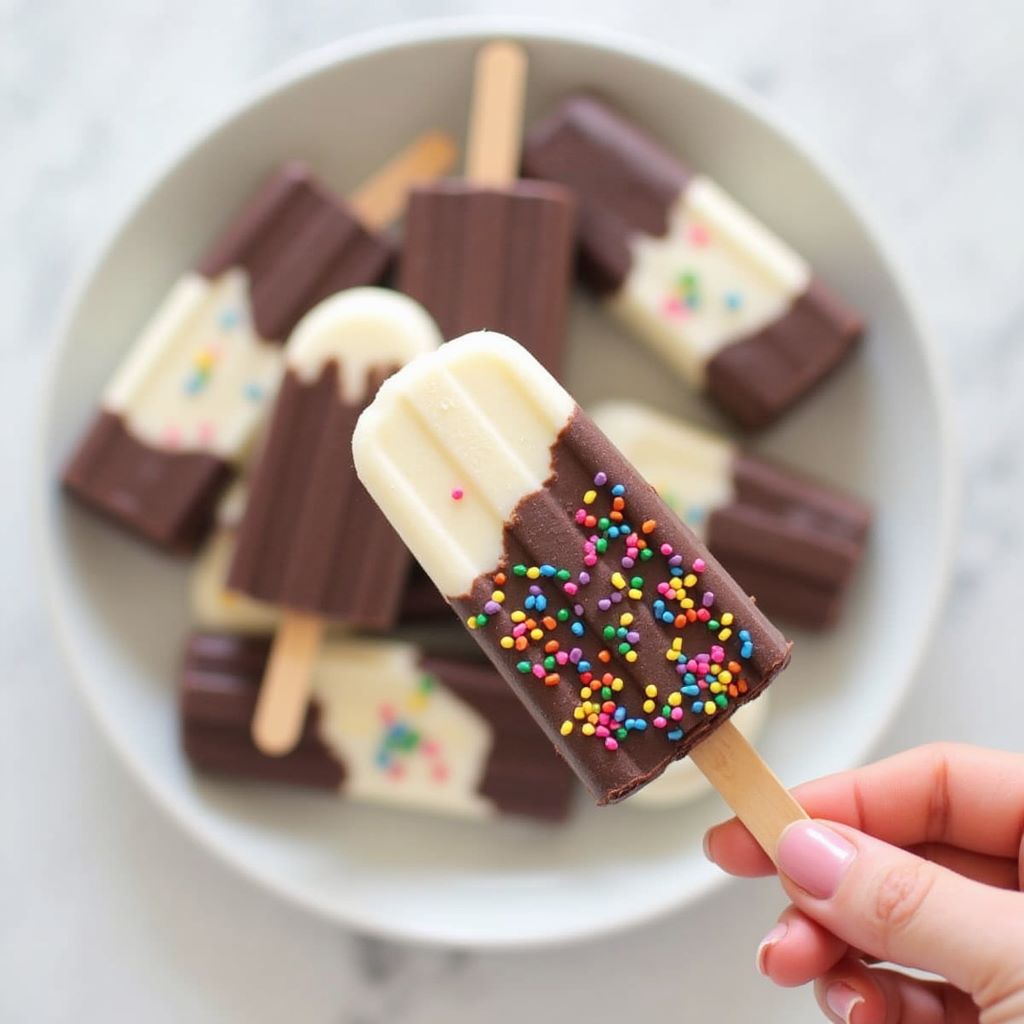
- For extra flair, roll the popsicles in crushed nuts or sprinkles before the chocolate hardens.
By following these steps, you’ll create delicious homemade chocolate-covered ice cream popsicles. They can last up to 2 months in the freezer.
Step-by-Step Guide Summary
| Step | Details |
|---|---|
| Preparation Time | 15 minutes |
| Freezing Time | 4-6 hours |
| Serving Size | 4 popsicles |
| Storage Time | 1-2 months |
Customizing Your Chocolate-Covered Ice Cream Popsicles
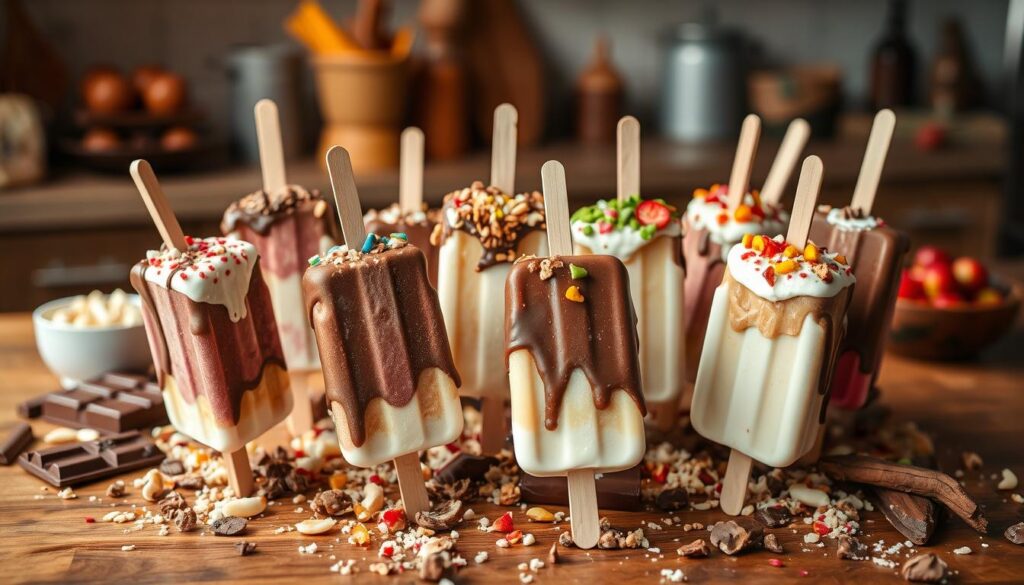
Customizing your popsicles can enhance your dessert experience. It’s easy to make popsicles that match your taste. You can try different flavors and add-ins for a delicious twist.
Delicious Flavor Variations to Try
Experiment with unique flavors to make your popsicles stand out. Here are some ideas:
- Chocolate ice cream with crushed peppermint candies for a festive treat.
- Mint chocolate chip ice cream with cocoa nibs for extra flavor.
- Fruit-flavored ice cream, like strawberry or mango, for a refreshing twist.
- Greek yogurt-infused mixtures for a healthier option without losing flavor.
Add-Ins for Extra Texture and Flavor
Add-ins can bring fun texture and flavor to your popsicles. Try these:
- Chocolate chips or chunks for a richer taste.
- Nuts like almonds or pecans for a crunchy bite.
- Sprinkles for a colorful and fun touch.
- Swirls of caramel or fudge for a surprise flavor.
Experimenting with different combinations can lead to amazing creations. Customizing your popsicles allows you to express your creativity, making each treat a personal masterpiece.
Storing Your Homemade Chocolate-Covered Ice Cream Popsicles
Storing homemade popsicles requires careful attention to maintain their taste and freshness. After making your popsicles, ensure the chocolate coating is set to avoid messes when storing.
Wrap each popsicle in parchment paper to keep them fresh. Then, place them in airtight containers. These containers keep air out, which helps prevent freezer burn and preserves flavors.
Tips for Storing:
- Remove popsicles from molds for long-term storage.
- Double-wrap popsicles with wax paper and plastic wrap to prevent freezer burn.
- Maintain a consistent freezer temperature of 0°F (-18°C) or lower.
- Rotate stock regularly to ensure older batches are consumed first.
- Explore sustainable storage methods, such as reusable freezer bags made from eco-friendly materials.
With proper storage, homemade popsicles can last up to six months. These methods not only make storage easier but also enhance your enjoyment of these treats. By following these steps, you’ll savor every bite of your popsicles, just as fresh as when you first made them.
Fun Ways to Enjoy Your Chocolate-Covered Ice Cream Popsicles
Enjoying popsicles can be more than just eating a dessert—it can be a fun and creative experience. You can try different serving ideas to enhance your homemade treats. From tasty toppings to cute presentations, there are many ways to impress your loved ones.
- Drizzle with caramel or chocolate sauce for added richness.
- Roll in chopped nuts, coconut flakes, or sprinkles for extra fun.
- Create an ice cream sandwich using cookies or brownies.
- Serve on decorative platters with fresh fruit for an elegant touch.
- Set up a dessert bar with assorted toppings so everyone can customize their popsicle.
With these ideas, enjoying popsicles becomes a fun and memorable event. The more creative you are, the more everyone will enjoy these homemade treats.
Conclusion
The recipe for chocolate-covered ice cream popsicles has evolved over the years, showing us the joy of making these treats at home. You now know how simple it is to make homemade popsicles. You can choose the classic chocolate or try new flavors like mint or peanut butter.
As you start making these popsicles, remember the tips and tricks from this guide. Avoid mistakes like uneven chocolate or too-soft popsicles. With practice, you’ll create delicious treats that everyone will love.
So, gather your ingredients and experiment with different flavors. Making and sharing these popsicles will enhance your cooking skills. You’ll enjoy creating your own unique flavors, making these popsicles a hit with everyone.
FAQ
What ingredients do I need to make homemade chocolate-covered ice cream popsicles?
To make these popsicles, you need heavy cream, milk, sugar, and vanilla extract for the ice cream. You’ll also need high-quality chocolate for the coating. You can add extra flavors or textures to personalize your popsicles.
How long does it take to prepare and freeze the popsicles?
It takes about 15–20 minutes to prepare the ice cream base. After filling the molds, it takes 4–6 hours or overnight to freeze. Make sure the ice cream is fully frozen before dipping it in chocolate.
Can I customize the flavors of my popsicles?
Yes! You can add fruit purees, chocolate chips, or nut butter to the ice cream. Try different chocolate coatings like white chocolate or flavored melts for unique flavors.
How do I properly store my homemade popsicles?
Wrap each popsicle in parchment paper and store them in an airtight container. This keeps them fresh for weeks and prevents freezer burn.
Is it possible to make these popsicles without dairy?
Absolutely! Use coconut milk or almond milk instead of heavy cream and regular milk. Ensure your chocolate coating is dairy-free for a fully dairy-free treat.
What are some fun serving ideas for these popsicles?
You can drizzle chocolate or caramel sauce on top for a fancy look. Roll them in chopped nuts or sprinkles for extra fun. Try them as ice cream sandwiches with cookies for a tasty twist.
