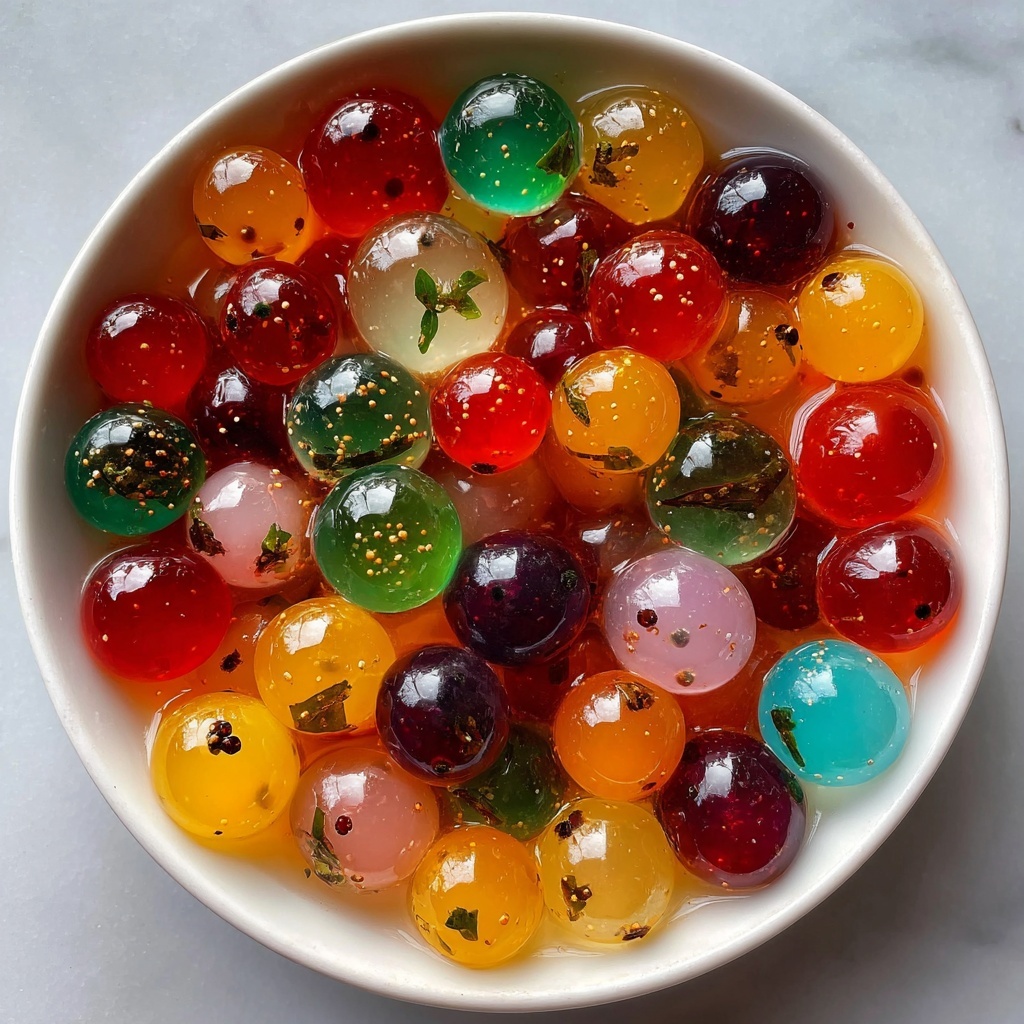
If you’ve ever wished you could capture the magic of a dazzling aurora borealis on your taste buds, the Northern Lights Candy Glow Recipe is your sweetest dream come true. This vibrant, glowing candy not only delights with a kaleidoscope of colors but also surprises with a fun, subtle luminescence thanks to tonic water. Perfect for festive occasions or simply adding a bit of whimsy to your treat collection, this recipe combines simple pantry ingredients with a touch of playful science to create a candy that truly glows with charm and flavor. When you make the Northern Lights Candy Glow Recipe, you’re in for a dazzling adventure that feeds both your creativity and your sweet tooth.
Ingredients You’ll Need
What makes the Northern Lights Candy Glow Recipe shine, aside from its beautiful appearance, is how each straightforward ingredient plays a crucial role. These essentials work together to give the candy its perfect texture, bright flavors, and that captivating glow.
- Sugar: The base of your candy, providing sweetness and structure to ensure a perfect hard candy texture.
- Corn Syrup: Keeps the sugar from crystallizing, helping your candy stay smooth and glossy.
- Water: Hydrates the sugar so it melts evenly during cooking.
- Baking Soda: Creates tiny bubbles in the syrup, giving the candy a delightful lightness.
- Citric Acid: Adds a refreshing zing that balances sweetness beautifully.
- Lemon Extract: Infuses a bright citrus note that complements the candy’s colors perfectly.
- Blue Food Coloring: One of the vivid shades that mimic the Northern Lights’ blues.
- Green Food Coloring: A shimmering green to capture the essence of those ethereal lights.
- Yellow Food Coloring: Adds warmth and brightness to the candy’s palette.
- Red Food Coloring: Gives a bold contrast and warmth, completing the captivating spectrum.
- Tonic Water: The secret ingredient that makes the candy glow under UV light, adding a whimsical surprise effect.
How to Make Northern Lights Candy Glow Recipe
Step 1: Prepare the Baking Sheet
Start by lining a baking sheet with parchment paper or a silicone baking mat. This simple step ensures your candy won’t stick and makes cleanup a breeze, setting you up for smooth sailing in later steps.
Step 2: Cook the Sugar Mixture
In a medium-sized saucepan, combine the sugar, corn syrup, and water. Stir gently over medium heat until the sugar dissolves completely. Once dissolved, crank up the heat and let the mixture boil without stirring for about 5 to 7 minutes. Your goal is to reach the hard crack stage—about 300°F or 150°C—so using a candy thermometer here is a game-changer for perfect results.
Step 3: Add the Baking Soda and Citric Acid
When your syrup hits the hard crack point, take it off the heat and carefully stir in the baking soda and citric acid. Prepare for some fun bubbling action as the mixture froths up. This not only adds a lovely lightness to your candy but also a slight tangy complexity.
Step 4: Add the Flavors and Colors
Divide the bubbling syrup evenly into separate bowls. In each bowl, add a few drops of food coloring—selecting one color per bowl keeps the hues vivid. Stir in a teaspoon of tonic water to each colored syrup to unleash that magical glow. Be quick but careful as the candy sets fast.
Step 5: Pour the Candy
Quickly pour each colored concoction onto your prepared baking sheet, creating distinct sections or swirling them artistically if you’re feeling creative. The colors will solidify beautifully as the candy cools, usually taking about 20 to 30 minutes at room temperature.
Step 6: Break into Pieces
Once fully hardened, simply break your candy into bite-sized shards or charming chunks. Store these edible gems in an airtight container, ready to wow your friends and family. To see the Northern Lights Candy Glow Recipe magic in full effect, shine a UV light on them or enjoy them in dim settings where their glowing tonic water really shines.
How to Serve Northern Lights Candy Glow Recipe

Garnishes
Make your glowing candy even more striking by placing shards on a clear glass plate or a mirrored tray. Sprinkling edible glitter or powdered sugar around your candy can amplify the luminous vibe, making your display look like a little constellation right on the table.
Side Dishes
Pair this dazzling candy with simple, complementary treats like light lemon sorbet or a tangy berry compote. These help balance the sweetness and keep the spotlight on your Northern Lights Candy Glow Recipe, enhancing the overall flavor experience without overpowering it.
Creative Ways to Present
Try presenting your candy in small glass jars or clear treat bags tied with colorful ribbons for gifting. For parties, arrange the pieces atop glowing LED coasters or inside transparent cups with a UV light underneath—the glow effect will surely leave your guests enchanted and eager for more.
Make Ahead and Storage
Storing Leftovers
Leftover Northern Lights Candy Glow Recipe pieces store beautifully in an airtight container at room temperature. Keep them in a cool, dry place to preserve their crisp texture and glowing charm for up to a week.
Freezing
Because of the candy’s hard, glass-like nature, freezing is not recommended as it can cause condensation and cloudiness once thawed, diminishing that pristine glow and crunchy bite.
Reheating
Reheating is unnecessary for this candy since it’s best enjoyed as a crisp, glowing treat. If pieces soften, it’s best to start fresh rather than trying to soften or melt them again.
FAQs
What makes the Northern Lights Candy Glow Recipe glow?
The glowing effect comes from the tonic water, which contains quinine—a compound that fluoresces under UV light, giving the candy its magical luminous quality.
Can I use other food colorings for this recipe?
Absolutely! Feel free to experiment with different colors to match your theme or mood. Just keep in mind that vibrant colors work best for that Northern Lights effect.
Is it safe to eat candy made with tonic water?
Yes, the tonic water used in this recipe is in very small amounts, adding flavor and glow without any health concerns for most people. Just enjoy responsibly.
How long does the candy stay fresh?
When stored properly in an airtight container at room temperature, the candy maintains its texture and glow for up to one week.
Can I make this candy without a candy thermometer?
While it’s possible, a candy thermometer ensures you reach the perfect hard crack stage for ideal texture and prevents under or overcooking, so it’s highly recommended.
Final Thoughts
The Northern Lights Candy Glow Recipe is such a joyful combination of science, color, and irresistible taste that it promises to bring a spark of wonder to any occasion. Whether you’re making it for a festive party, a fun kitchen experiment, or simply because you want to treat yourself and friends to something extraordinary, this recipe delivers magic in every bite and glow in every piece. Dive in and let your creativity shine—you’ll be so glad you did!
Print
Northern Lights Candy Glow Recipe
- Prep Time: 10 minutes
- Cook Time: 15 minutes
- Total Time: 25 minutes
- Yield: 10 servings
- Category: Candy
- Method: Stovetop
- Cuisine: American
Description
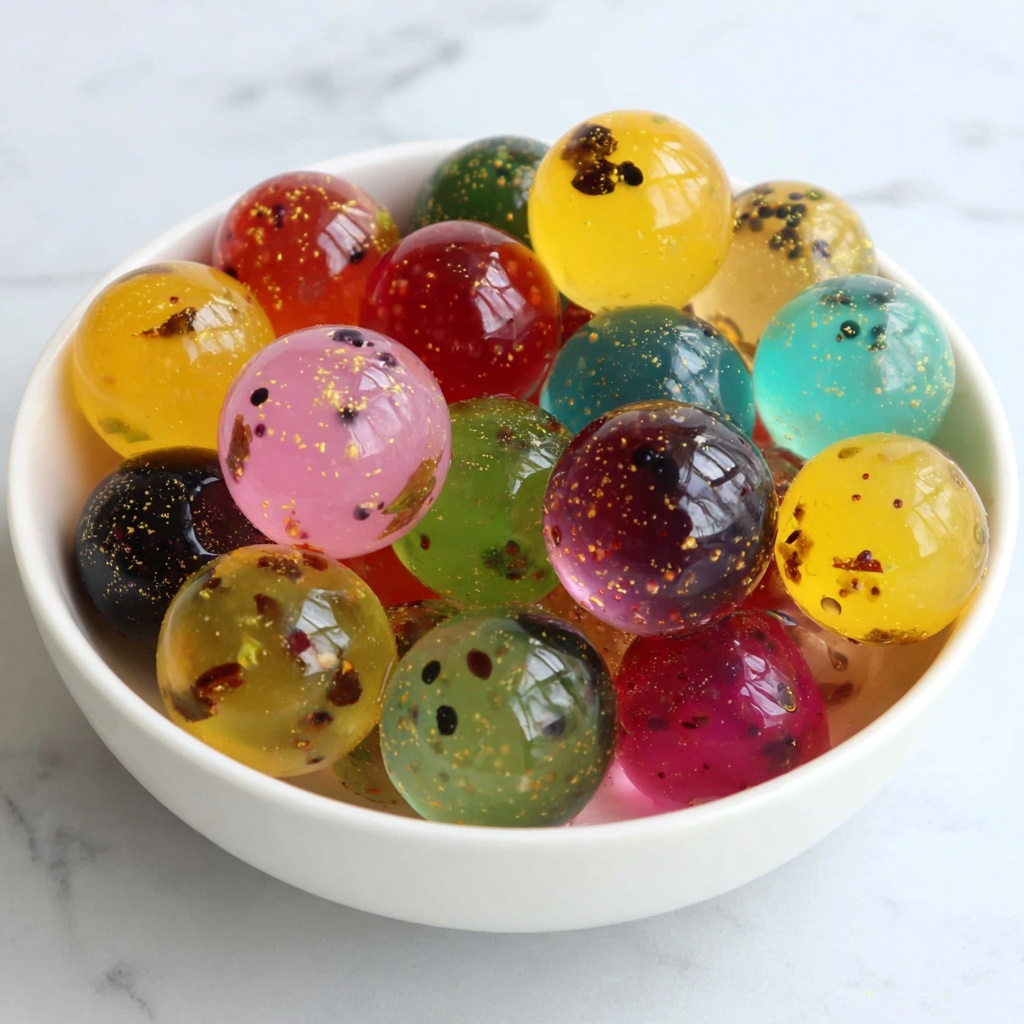
Northern Lights Candy Glow is a visually stunning and fun homemade hard candy recipe that glows under UV light. This colorful candy combines sugar syrup cooked to the hard crack stage with vibrant food colorings and tonic water to create a glowing effect. Perfect for parties and special occasions, these candies offer a delightful sweet crunch with a magical luminescent finish.
Ingredients
Basic Candy Syrup
- 1 cup sugar
- 1/4 cup corn syrup
- 1/4 cup water
- 1/2 teaspoon baking soda
- 1/2 teaspoon citric acid
Flavor & Color Additions
- 1/2 teaspoon lemon extract
- 1/4 teaspoon blue food coloring
- 1/4 teaspoon green food coloring
- 1/4 teaspoon yellow food coloring
- 1/4 teaspoon red food coloring
- 1/4 teaspoon tonic water (for glowing effect)
Instructions
- Prepare the Baking Sheet: Line a baking sheet with parchment paper or a silicone baking mat to prevent the candy from sticking and set it aside for easy pouring later.
- Cook the Sugar Mixture: In a medium saucepan, combine sugar, corn syrup, and water. Stir over medium heat until the sugar dissolves completely. Then increase heat and allow mixture to boil without stirring for 5-7 minutes, monitoring with a candy thermometer until it reaches the hard crack stage at approximately 300°F (150°C).
- Add the Baking Soda and Citric Acid: Remove the syrup from heat carefully and stir in baking soda and citric acid. The mixture will bubble vigorously, so handle with caution to avoid burns.
- Add the Flavors and Colors: Immediately divide the hot syrup evenly into separate heat-safe bowls. To each bowl add a few drops of a different food coloring along with a teaspoon of tonic water, which imparts the glowing effect. Stir gently to combine the colors and tonic water uniformly.
- Pour the Candy: Quickly pour each colored syrup onto the prepared baking sheet in separate sections to create a multi-colored candy sheet. Work fast as the syrup hardens quickly.
- Cool and Harden: Allow the candy to cool and harden at room temperature for 20-30 minutes until completely set.
- Break into Pieces: Once hardened, break the candy into bite-sized pieces and store them in an airtight container to maintain freshness. The candy will exhibit a glowing effect under UV light thanks to the tonic water.
Notes
- Use a candy thermometer for accurate temperature control to ensure proper hard crack stage.
- Be careful when handling hot sugar syrup—it can cause severe burns.
- Tonic water contains quinine which fluoresces under UV light; this is what makes the candy glow.
- Store candy in a cool, dry place in an airtight container to prevent sticking or melting.
- Experiment with different color combinations to enhance the Northern Lights effect.