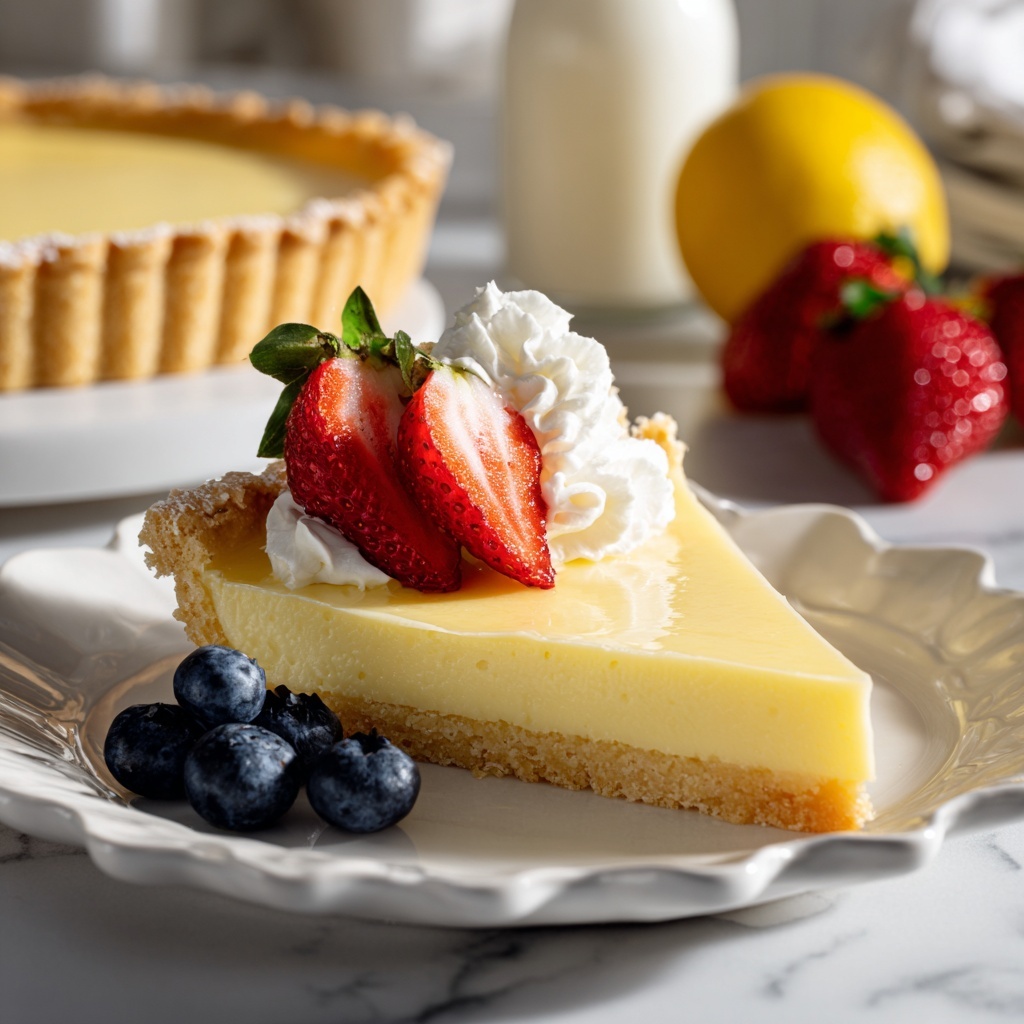
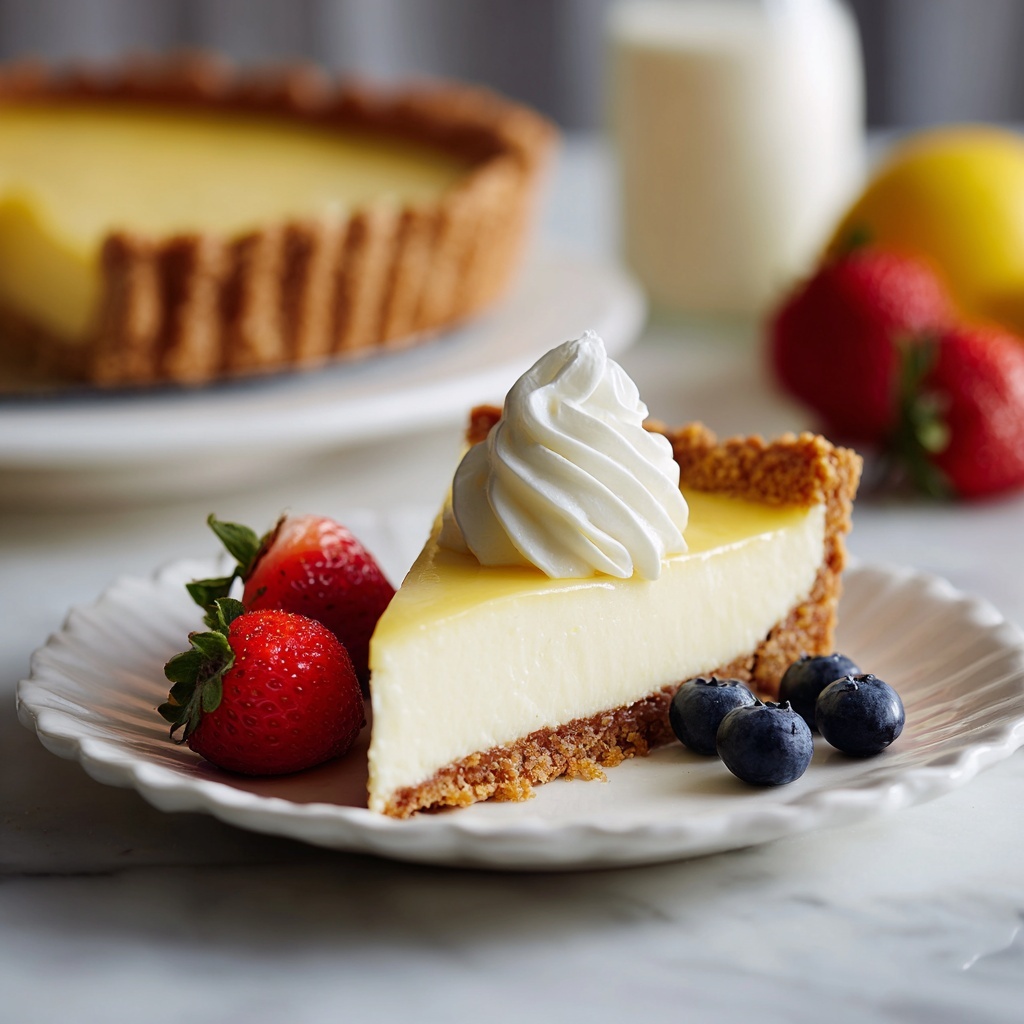
If you are a fan of classic Southern desserts, then this Rich & Creamy Buttermilk Pie Recipe is exactly what your taste buds have been craving. Imagine slicing into a golden, flaky crust that cradles a luscious, velvety filling bursting with subtle hints of vanilla, lemon, and coconut. This pie is the perfect balance of tangy and sweet, with a richness that feels comforting like a warm hug from an old friend. Whether it’s for a holiday dinner or a lazy weekend treat, this Rich & Creamy Buttermilk Pie Recipe is guaranteed to win hearts around your table.
Ingredients You’ll Need
The beauty of this pie lies in its simplicity. Each ingredient plays a vital role, from creating that silky smooth texture to adding layers of flavor that make every bite memorable. Gathering these essentials means you’re already halfway to dessert heaven.
- Granulated sugar: Sweetens the filling while helping to create the perfect custard consistency.
- All-purpose flour: Acts as a thickener to ensure the pie sets just right.
- Salt: Enhances all other flavors and balances sweetness.
- Eggs and egg yolk: Provide structure and richness to that silky texture.
- Unsalted butter, melted: Adds a creamy depth and smoothness to the filling.
- Pure vanilla extract: A classic flavor booster that complements the buttermilk beautifully.
- Lemon extract: Brings a fresh, bright note that lifts the pie’s overall flavor.
- Coconut extract: Offers a subtle tropical twist that makes this recipe uniquely delightful.
- Warm buttermilk: The star of the show, providing tanginess and that rich, creamy texture.
- Unbaked 9-inch pie shell, chilled: Your crust foundation, crisp and ready to hold the luscious filling.
How to Make Rich & Creamy Buttermilk Pie Recipe
Step 1: Prepare the Oven
Start by preheating your oven to 350°F (175°C). This temperature ensures the pie bakes evenly, helping the filling set perfectly while the crust turns a beautiful golden brown.
Step 2: Combine Dry Ingredients
In a large bowl, whisk together the granulated sugar, flour, and salt. For an even smoother filling, sift these dry ingredients before mixing. This step creates a silky base for your pie’s custard and prevents any lumps.
Step 3: Beat the Eggs
In a separate bowl, whisk the eggs and egg yolk until completely uniform in color and texture. This blend is crucial to giving your pie that rich, velvety consistency without any curdling.
Step 4: Mix Dry and Wet Ingredients
Slowly add the dry mixture to the beaten eggs, whisking continuously until the batter is smooth and free of lumps. This gradual blend keeps the texture light and pudding-like.
Step 5: Add Butter and Extracts
Whisk in the melted butter along with the vanilla, lemon, and coconut extracts. These aromatic touches are what truly elevate this pie from everyday to extraordinary by layering delightful flavors.
Step 6: Add Buttermilk
Pour in the warm buttermilk slowly while stirring until the mixture is uniformly smooth. If bubbles appear on the surface, allow them to settle before moving forward to keep your filling perfectly creamy.
Step 7: Fill the Pie Shell
Pour the luscious batter into the chilled, unbaked 9-inch pie shell. The contrast of the cool crust and smooth filling sets the stage for an ideal bake.
Step 8: Bake the Pie
Place your pie on the lower rack and bake for 25 minutes to start sealing the crust and setting the filling edges. Then, move it to the middle rack and continue baking for another 25 minutes or until the edges are firm and the center has a slight jiggle for that signature custard texture.
Step 9: Cool the Pie
Remove the pie from the oven and let it cool on a rack for 2 to 3 hours, or until the pan bottom is no longer hot to the touch. This slow cooling prevents cracks and helps the filling settle beautifully.
Step 10: Chill Before Serving
For the best slicing and serving experience, refrigerate the pie for at least 2 hours. Chilling intensifies the flavors and enhances the luscious creaminess you crave in a buttermilk pie.
How to Serve Rich & Creamy Buttermilk Pie Recipe

Garnishes
While this Rich & Creamy Buttermilk Pie Recipe is heavenly on its own, a dollop of freshly whipped cream or a handful of ripe berries adds a burst of freshness and color that’s hard to resist. A light dusting of powdered sugar can also add an elegant touch to your presentation.
Side Dishes
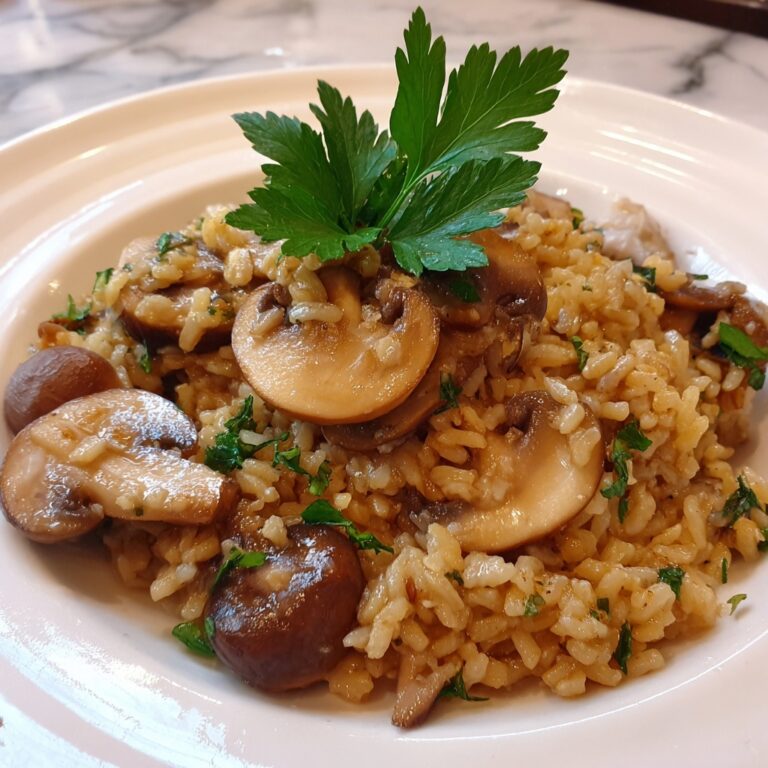
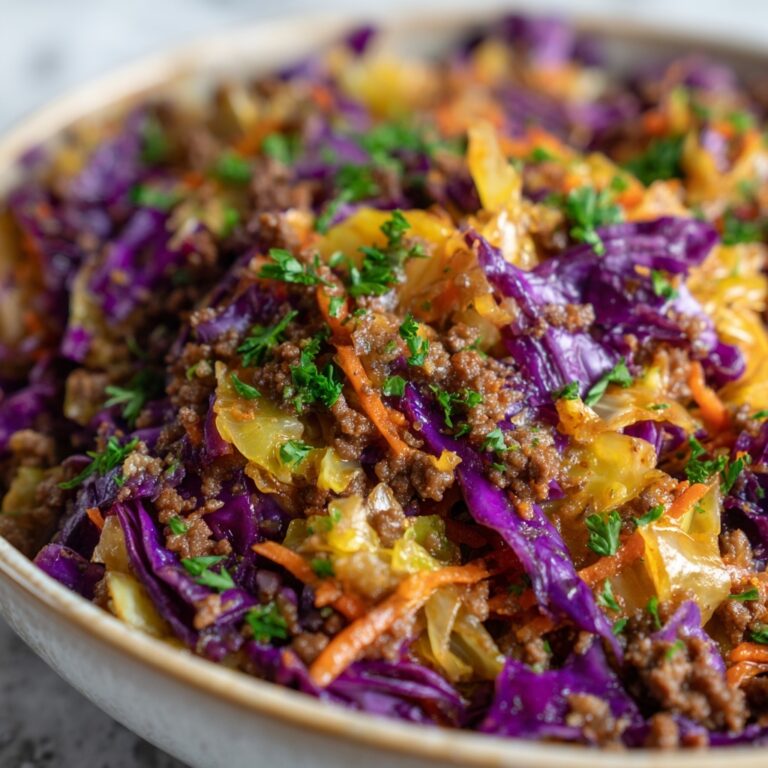
This pie pairs wonderfully with a hot cup of coffee or a cold glass of milk, balancing the richness of the filling. On the savory side, a light salad or even roasted nuts can complement the sweetness and make your dessert spread even more inviting.
Creative Ways to Present
Want to impress your guests? Serve individual mini pies or tartlets using this filling. Alternatively, top slices with toasted coconut flakes or lemon zest for added texture and zing. A drizzle of caramel sauce can also transform this classic into a decadent showstopper.
Make Ahead and Storage
Storing Leftovers
Once sliced, store leftover pie in an airtight container in the fridge. It will stay fresh and delicious for up to 4 days, making it perfect for enjoying as a quick treat or dessert any time.
Freezing
You can freeze this pie, wrapped tightly in plastic wrap and foil, for up to 2 months. Thaw overnight in the refrigerator for the best texture, then enjoy the same rich creaminess as freshly baked.
Reheating
To warm leftovers, place slices in a 300°F oven for about 10 minutes to regain that fresh-from-the-bakery feel without losing the silky texture. Avoid microwaving, as it can make the filling rubbery.
FAQs
Can I use regular milk instead of buttermilk?
While regular milk can work in a pinch, buttermilk is what gives this pie its signature tangy richness and creamy texture. For best results, use buttermilk as specified.
Why does the pie have a slight jiggle when done baking?
The slight jiggle indicates that the filling is perfectly custardy and will set as it cools. Overbaking will cause it to become dry and crack.
Can I prepare this pie crust from scratch?
Absolutely! Making your own pie crust adds a personal touch, but a good-quality store-bought crust also works wonderfully to keep things simple.
Are the lemon and coconut extracts necessary?
They are key ingredients that provide subtle, complementary flavor notes. However, if you prefer, you can adjust or omit them according to your taste.
How long can the pie be left out at room temperature?
Since this pie contains dairy and eggs, it’s best not to leave it out for more than 2 hours to maintain safety and freshness.
Final Thoughts
This Rich & Creamy Buttermilk Pie Recipe is one of those timeless desserts that feel like a warm gathering of family and friends in every bite. Its perfect balance of creaminess, sweetness, and a hint of zest makes it a standout at any table. I encourage you to give this recipe a try and watch how quickly your loved ones ask for seconds — it’s simply irresistible!
Print
Rich & Creamy Buttermilk Pie Recipe
- Prep Time: 20 minutes
- Cook Time: 50 minutes
- Total Time: 3 hours 30 minutes
- Yield: 8 servings
- Category: Dessert
- Method: Baking
- Cuisine: Southern American
Description
This Rich & Creamy Buttermilk Pie is a classic Southern dessert known for its smooth, custardy filling with subtle hints of lemon and coconut extracts. Baked in a flaky pie crust, it offers a perfect balance of sweetness and tanginess, making it an ideal treat for holidays, special occasions, or anytime you crave a comforting homemade pie.
Ingredients
Filling
- 1½ cups granulated sugar
- ¼ cup all-purpose flour
- ¼ teaspoon salt
- 2 eggs, room temperature
- 1 egg yolk, room temperature
- 5 tablespoons unsalted butter, melted
- 1½ teaspoons pure vanilla extract
- ¼ teaspoon lemon extract (adjust to taste)
- ⅛ teaspoon coconut extract (adjust to taste)
- 1 cup buttermilk, warm
Pie Shell
- 1 (9-inch) unbaked pie shell, chilled
Instructions
- Prepare the Oven: Preheat your oven to 350°F (175°C) to ensure the pie bakes evenly in a hot environment.
- Combine Dry Ingredients: In a large bowl, whisk together the granulated sugar, all-purpose flour, and salt. For an extra-smooth filling, sift these ingredients together. Set aside.
- Beat the Eggs: In another large bowl, whisk the eggs and egg yolk until the mixture is completely uniform in color and well combined.
- Mix Dry and Wet Ingredients: Gradually whisk the dry ingredients into the egg mixture. Continue whisking until the batter is smooth and free of lumps.
- Add Butter and Extracts: Whisk in the melted butter, vanilla extract, lemon extract, and coconut extract until everything is thoroughly incorporated.
- Add Buttermilk: Slowly stir in the warm buttermilk, mixing until the batter is smooth and no streaks remain. If the mixture develops bubbles on top, let it settle for a few moments before proceeding.
- Fill the Pie Shell: Pour the prepared batter into the chilled, unbaked 9-inch pie shell.
- Bake the Pie: Place the pie on the lower oven rack and bake for 25 minutes. Once that time is up, move the pie to the middle rack and bake for another 25 minutes, or until the edges are set and the center is just slightly jiggly.
- Cool the Pie: Remove the pie from the oven and transfer it to a cooling rack. Allow it to cool for 2-3 hours, or until the bottom of the pan is no longer hot to the touch.
- Chill Before Serving: Once cooled, refrigerate the pie for at least 2 more hours to let it fully set before slicing and serving.
- Garnish and Serve: Serve the pie cold or at room temperature, plain or topped with whipped cream and fresh berries as desired.
Notes
- Use room temperature eggs for better mixing and a smoother custard texture.
- Adjust lemon and coconut extracts to your preferred intensity, but be cautious as they can easily overpower the delicate flavor.
- Letting the batter settle after adding buttermilk helps eliminate air bubbles for a more even filling.
- Chilling the pie after cooling is essential to fully set the custard and make slicing easier.
- This pie tastes best served cold or at room temperature and pairs wonderfully with fresh berries or whipped cream.

